Background
Until recently, SSH access on your Raspberry Pi using a USB tether required a little manual configuration. The release of Raspberry Pi Imager 2.0 (henceforth "Imager") promises to change that and allow this functionality to be enabled right from the Imager UI. If you'd rather manually configure, see my article: Raspberry Pi Zero: SSH via USB Ethernet Gadget.
Let's dive in and see if we can set up Imager to allow us USB gadget mode as an option directly in the UI.
Requirements:
- Raspberry Pi Zero 2 W
- microSD card flashed with Raspberry Pi OS Lite (32-bit)
- USB-C (Mac) to Micro-B data cable
- Raspberry Pi Imager (v2.0.6 - Latest)
USB Tether Via Imager
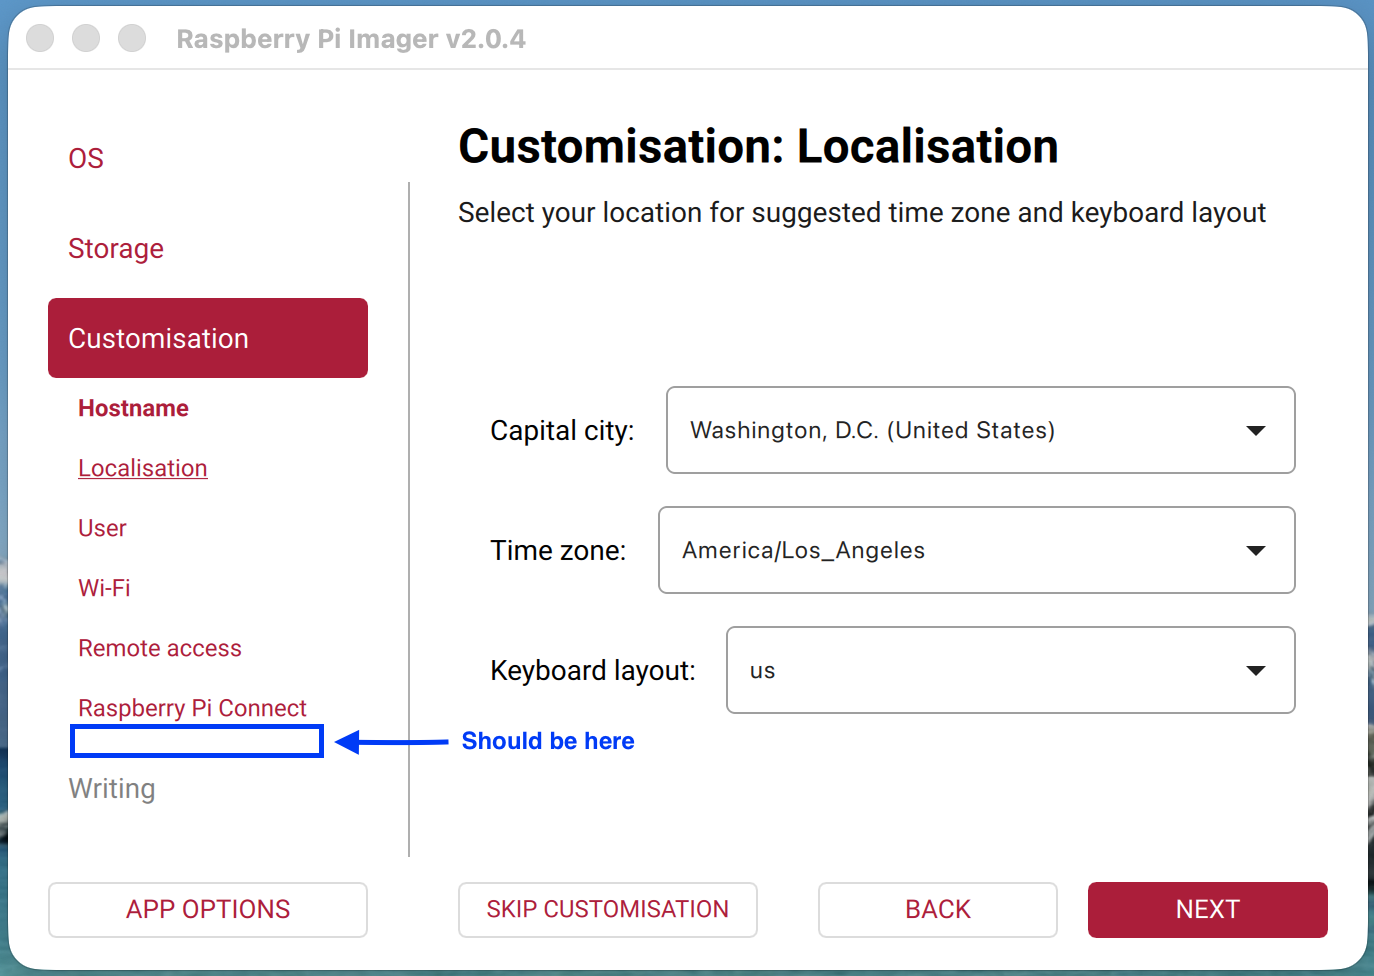
First, I need to update my version of Imager. I'm currently running v2.0.4 and there's now a newer version v2.0.6 as of Jan 24, 2026. The README.md for rpi-usb-gadget mentions this functionality being available for any Imager v2 or later but must be separately enabled. My current v2.0.4 doesn't have a toggle displayed by default yet but I want to check if that's changed in the newest release.
I didn't see anything in the release change log for Imager suggesting this feature has been activated by default in either of the last two releases, but I'll upgrade just the same to rule it out.
To update on Mac, run brew upgrade --cask raspberry-pi-imager. With the upgrade complete, I'll open from terminal since I'm already there open -a "Raspberry Pi Imager".
Still not there. Oh well, I didn't think it would be, but still good practice to give the easy path a go before the more complex one.
To get this operational, we need to provide Imager with a custom manifest file. The official repo for Imager has a script that can automate this process for us: create_local_json.py.
While I already have Imager on my machine as indicated by the previously mentioned steps, I don't have this particular script. The simplest way to obtain a copy is to clone the repo.
git clone https://github.com/raspberrypi/rpi-imager.gitThis will clone the repo into the current directory. If you want the repository to exist at a particular location, navigate there first.
Then cd into the directory containing the script we need: cd rpi-imager/doc/local_json.
When we run the script, we'll start with the recommended form provided in the README.md: ./create_local_json.py --online --capabilities usb_otg --device-capabilities usb_otg. This contains the necessary flags to specifically enable USB gadget mode. However, we'll add one more flag to specify an output directory.
Since I have the app separately downloaded, I might want to remove the repo at a later date. Therefore, I'll save the output elsewhere so the manifest isn't lost if I do. I'll create a new directory nested in /Documents called "RPi" to keep it short and sweet and I'll nest a subdirectory "manifests" to keep things grouped if other materials are added later (probably unnecessary nesting).
mkdir -p ~/Documents/RPi/manifestsWith our destination established, let's run the command with an additional flag --output-json to send the generated file to our newly created directory.
# create manifest

./create_local_json.py --online --capabilities usb_otg --device-capabilities usb_otg --output-json ~/Documents/RPi/manifests/os_list_local.rpi-imager-manifest
If all goes well, we should receive an output message saying as much.
Wrote 176 images to /Users/ianwaldron/Documents/RPi/manifests/os_list_local.rpi-imager-manifestFantastic. Now let's try running Imager with our newly minted manifest.
Enable In Imager
With the necessary manifest file generated, we can open Imager with it and see if the USB gadget mode option has been enabled. By far the easiest way to accomplish this is to simply double click on the manifest file. Since we already have a terminal window open, we can run a simple command to open a Finder window where the manifest is stored.
ianwaldron@Ians-Mac-mini ~ % open ~/Documents/RPi/manifestsNow double click on the manifest and Imager should launch. You should see a prompt asking if you want to replace the local repository file with the one we just generated (we do).
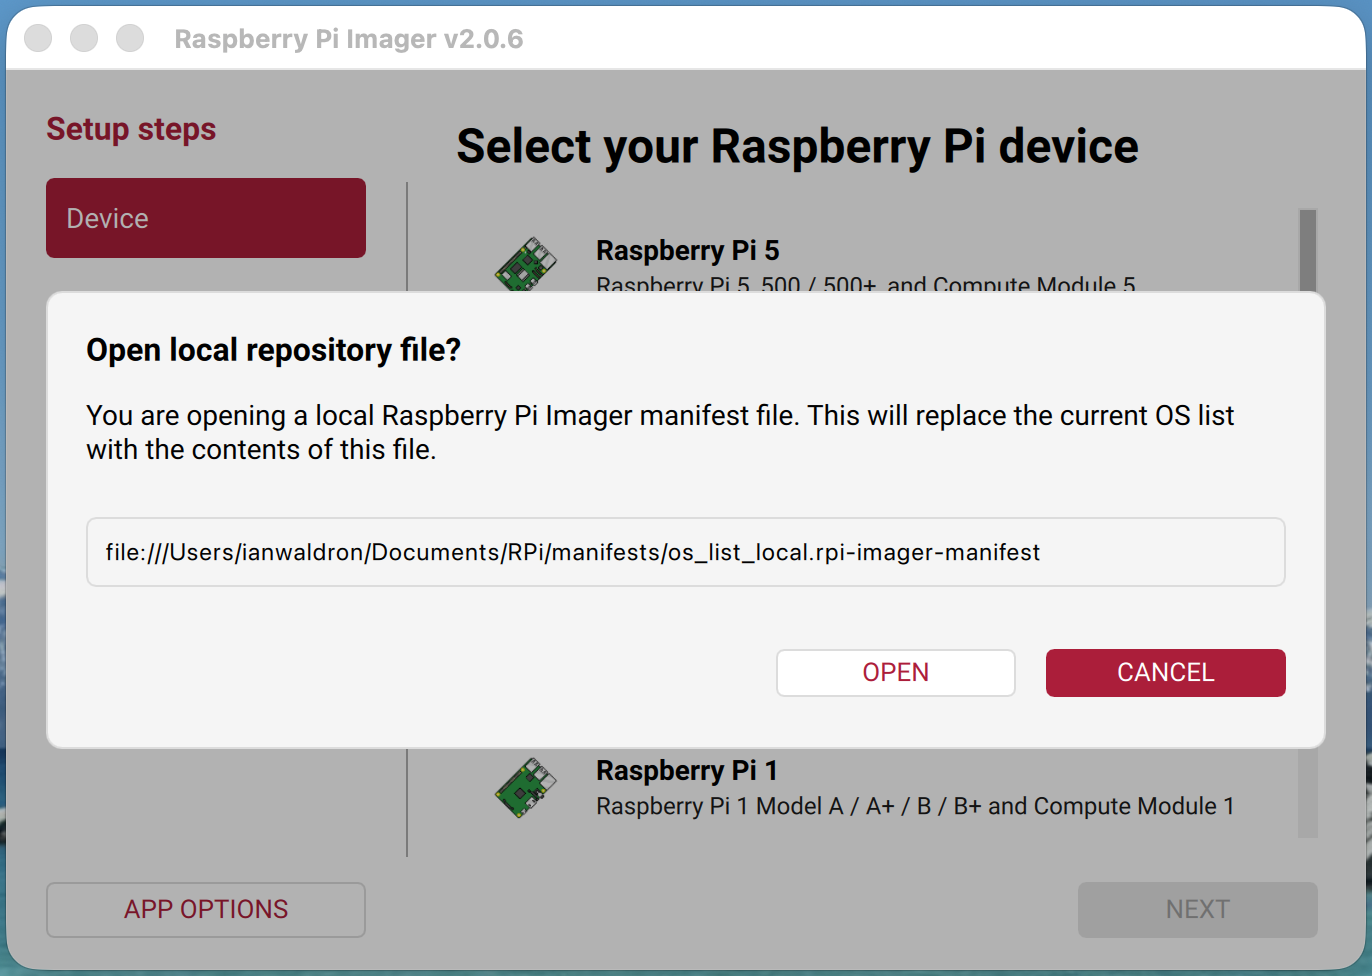
Click "Open" to continue.
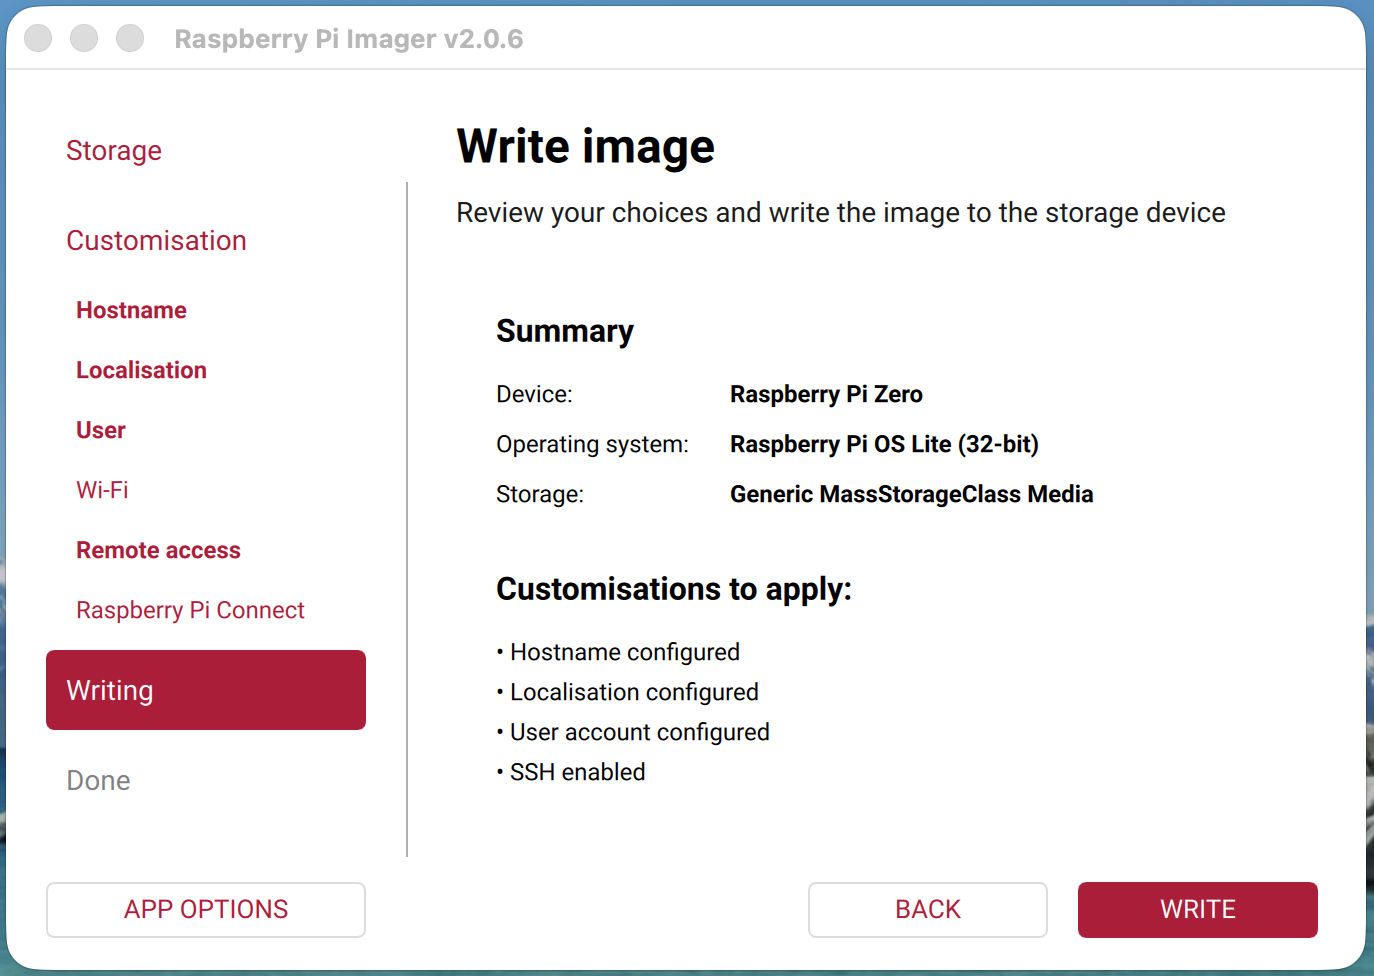
Were we successful? Let's try to flash an OS and see.
Voila.
Launch Imager (Alternative Method)
Instead of opening Imager by double clicking the generated manifest from a Finder window, you can select the file directly in Imager. Head over to "APP OPTIONS" in the bottom left. Next, select "EDIT" next to "Content Repository." Select the radio button for "Use custom file" and "BROWSE" to locate and select the custom manifest. Last apply the changes by selecting "APPLY & RESTART."
Testing USB Gadget Mode
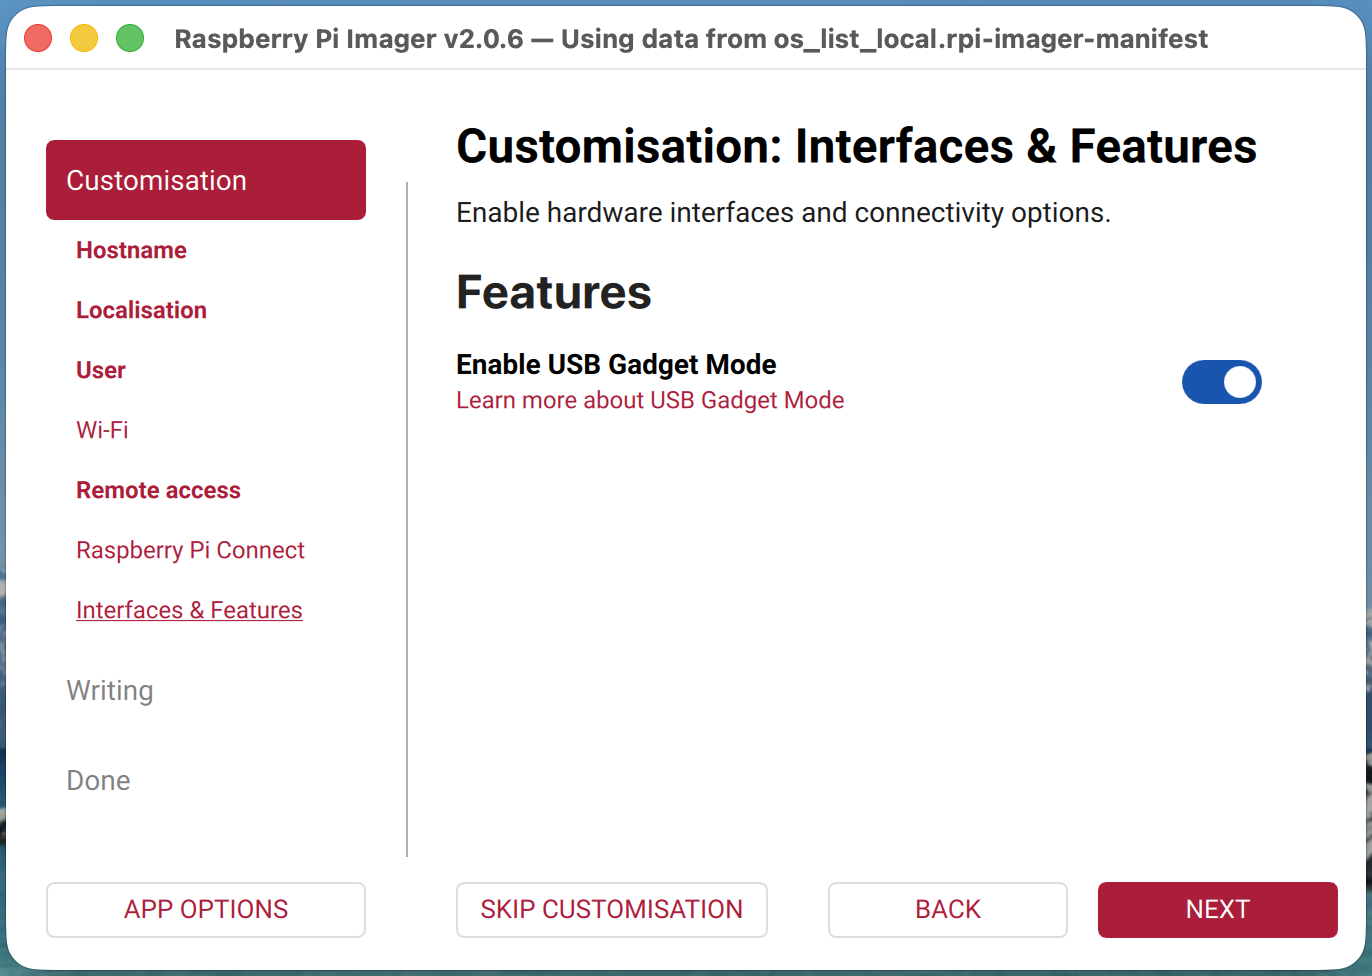
We see the option in the Imager UI, but one question remains: Does it work? Let's flash an OS to an SD card and see if we can establish SSH using a USB tether. Here are my configuration options:
- Device: Raspberry Pi Zero
- OS: Raspberry Pi OS Lite (32-bit)
- Hostname: raspberrypi
- User: pi
- Wi-Fi: leave blank
- Remote Access: Enabled SSH & use password auth
- Interfaces & Features: Enable USB Gadget Mode
Once the write has concluded, safely eject/unmount the drive and insert into the Pi.
diskutil unmount /Volumes/bootfsNow let's see if things work as expected and give ssh a go (wait 60-90 seconds for the device to boot).
And does it work? Answer - yes, sort of.
ianwaldron@Ians-Mac-mini ~ % ssh pi@raspberrypi.local
# enter pw, add to known hosts, etc
pi@raspberrypi:~ $
I couldn't establish a connection on first boot. However, on the second and subsequent boots I was able to establish the USB tether. It appears this behavior relates to this bug still open as of this writing: [BUG]: Raspberry Pi Zero 2 W does not connect USB on first boot with enable_usb_gadget in cloud-init #1403.
You may need to reboot the device one or more times before a USB tether connection can be reliably established due to a known issue.
Aside from that, we've established a working USB tether using the Imager UI alone. Pretty handy.
Final Thoughts
Now that we're able to enable USB gadget mode with our Raspberry Pi directly through Imager a question remains: "Should we?" While I find opening Imager from a manifest or updating the manifest through the UI each time I want to use this feature annoying, it's still going to be less error prone than the method I discussed in my article Raspberry Pi Zero: SSH via USB Ethernet Gadget. I'll likely use this approach moving forward, you likely should too, and now you have the knowledge to do exactly that.